Homemade Sugar Cookies

Sugar Cookies

While we were all home for Christmas break, we made sugar cookies with the trio.  Of course, decorating them was completely messy, but it’s become a Christmas tradition at our house.  This cookie recipe is my favorite because the dough doesn’t have to be chilled, it’s easy to work with, and the taste is delicious (the secret ingredient is the almond extract!).  These are perfect for any type of cutout cookies — they don’t have to only be made at Christmas.

I made yellow, blue, green, red, and white icing (just add food coloring) and the trio had a lot of fun decorating them.  I had several different types of sprinkles, squeeze bottles, and bowls of icing that they shared.  Santa was left three of their masterpieces and there were two carrots for the reindeer.

Homemade Sugar Cookies
Author: 
Prep time: 
Cook time: 
Total time: 
Serves: 24
 
Ingredients
  • 1 cup butter, softened
  • 1 cup white sugar
  • 1 tsp vanilla extract
  • ½ tsp almond extract
  • 1 egg
  • 2 tsp baking powder
  • 3 cups flour
Instructions
  1. Preheat oven to 350. Using a stand mixer, cream the butter and sugar. Add extracts and eggs. Add the baking powder and then add the flour a bit at a time. The dough does not need to be chilled. Divide into several batches and roll onto a floured surface to cut. They should be ⅛ to ¼th of an inch thick. Place on cookie sheets lined with parchment paper and bake for 6 to 8 minutes.
  2. Decorate however you choose -- the trio used royal icing and sprinkles.


Clara sugar cookies Sugar Cookies 2 Anna making sugar cookies Christmas cookies 3 Bo sugar cookies

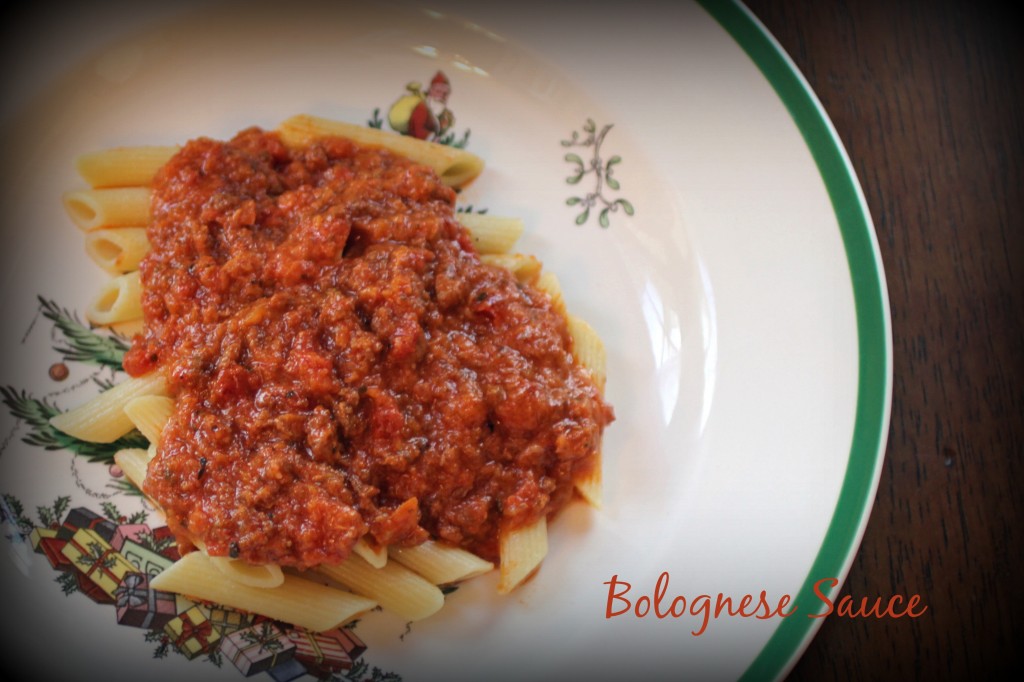
Bolognese Sauce

Bolognese

On Christmas Eve, Mike made bolognese sauce.  This recipe is originally from Mike’s dad, Jim, but has become one of Mike’s speciality recipes when he has a hankering to cook. We had this for lunch on Christmas Eve and everyone enjoyed it.  Bo has deemed it the best sauce ever.  I think it helped that Daddy made it!

If you’re looking for a special pasta sauce with lots of flavor, this one is perfect.  I served it with Pioneer Woman’s Garlic Cheese Bread Sticks.  Bo and I enjoy watching Pioneer Woman’s show on Food Network and she made these in one of the episodes we watched the day before.  They were a great accompaniment!

Author: 
Prep time: 
Cook time: 
Total time: 
Serves: 6
 
Ingredients
  • ½ lb. ground beef
  • 3 Tbsp. butter
  • 3 Tbsp. olive oil
  • 1 medium white onion, pureed
  • 1 stalk of celery, pureed
  • 1 large carrot, pureed
  • ⅛ tsp. minced garlic
  • ½ cup pancetta, diced
  • ¼ lb. mild Italian sausage
  • ½ cup dry white wine
  • ½ cup whole milk
  • 28 oz. can Italian tomatoes
  • ¼ tsp. black pepper
  • dash of cloves
  • ½ cup heavy cream
  • 8 oz tomato sauce
  • salt to taste
Instructions
  1. Saute ground beef in a heavy skillet or dutch oven until color is no longer red. Remove meat, set aside, and drain fat. Saute the onion, celery, and carrot in butter and olive oil until softened (if you prefer to have minimal chunks in your sauce like my family, then puree these ingredients -- if you don't mind chunks, finely chopped is fine). Add Italian sausage, pancetta, and garlic and cook until color of the meat is no longer red. Be sure to chop up the meat as it cooks.
  2. Return beef to the pan and add white wine. Turn up the heat to high and cook until wine is cooked off. Add whole milk and continue cooking. Add chopped tomatoes, dash of cloves, black pepper, and tomatoes sauce. Slow simmer for a minimum of 2 hours.
  3. Just before serving, add heavy cream. Add salt if needed.
  4. Serve over freshly cooked pasta.


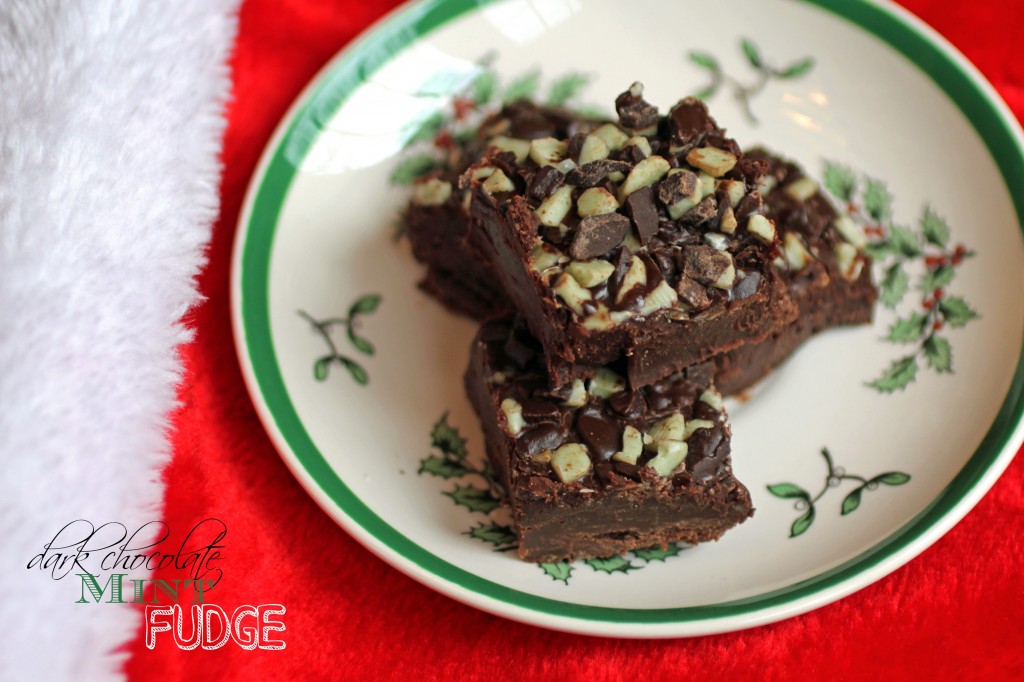
Dark Chocolate Mint Fudge

Mint Fudge

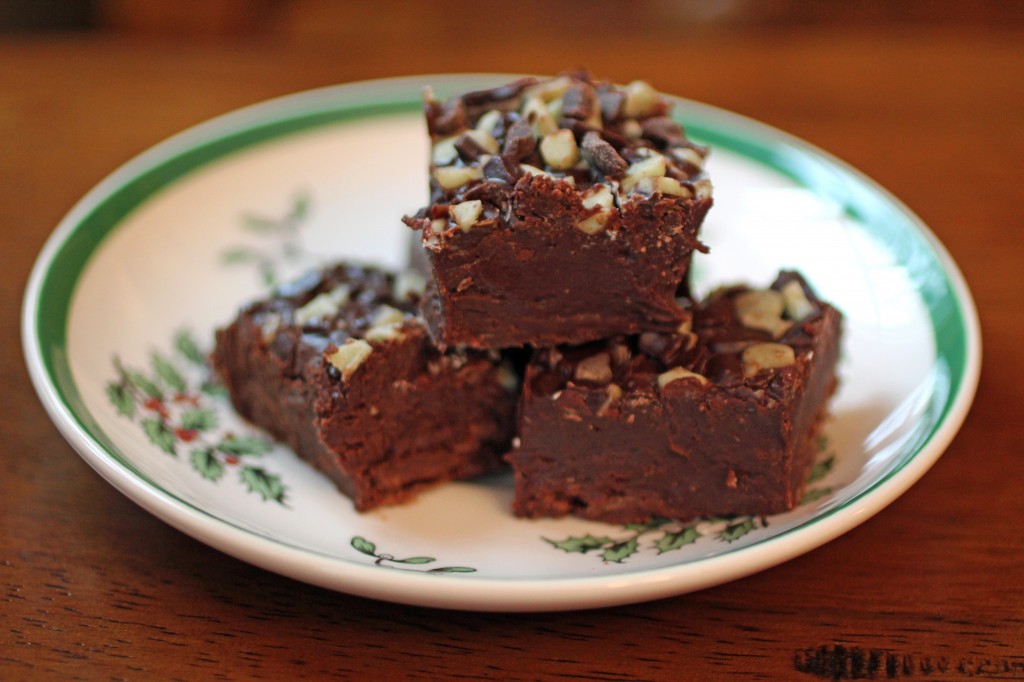
I wasn’t planning to post again before Christmas but I made this dark chocolate mint fudge on Friday evening and it’s too sinful not to share.  This fudge is very simple to make and tastes decadent and indulgent.  If you’re looking for a last minute gift or just something to enjoy with your family, this is perfect.

Mike and I have been enjoying our time off with the kids.  We’ve built forts and Lego creations, cuddled on the couch while watching Polar Express, and cooked plenty of yummy food.  Today, we’re going to the movies to see Frozen.  The countdown to Santa is in full swing and we’re enjoying every minute. I hope you’re enjoying the season as well.

I love the combination of chocolate and mint — but during the holidays it seems to taste even better.

Dark Chocolate Mint Fudge
Author: 
Prep time: 
Cook time: 
Total time: 
Serves: 24
 
Ingredients
  • 3 - 10 oz. bags dark chocolate chips
  • 1 - 10 oz. bag Andes mint baking chips
  • 1 Tbsp. butter
  • 1 can sweetened condensed milk
  • ½ to 1 cup heavy whipping cream
  • ¼ tsp. peppermint extract
  • ⅛ tsp. vanilla extract
  • ¼ tsp. salt
Instructions
  1. Spray a 9 x 13 inch pan with cooking spray or line with foil. In a large saucepan, heat the butter over low heat. Once the butter has melted, add the sweetened condensed milk, dark chocolate chips, and 1 cup of the Andes chips. Stir constantly until the chocolate has melted. Add the heavy cream ⅛th of a cup at a time and continue stirring until the chocolate no longer looks granulated and appears more glossy. It should look like thick, glossy, chocolate cake batter. You do not want it to be too thin. Remove from heat and add the salt and extracts. Pour the hot mixture into the prepared 9x13 pan and smooth. Top with remaining Andes chips. Refrigerate for several hours until set.

Mint Fudge 2

Butterscotch Easter Nests

Well, our Easter didn’t turn out exactly as we’d planned.  Both Clara and Anna are sick — it’s a strange illness — 100-102 fevers in the morning and evening — seemingly fine most of the day.  Not really eating.  Coughing.  Hacking.  Blah.  They were supposed to be Baptized this weekend and now we are working to reschedule it.  Best laid plans…

But that didn’t stop us from having fun in the kitchen to celebrate Easter.  One of our projects were these Butterscotch Easter Nests.  I made my mom’s haystacks and added jelly beans and Peeps.  All three kids thought they were neat to eat.  However, Bo was mad I put peanuts in the nests — and Anna and Clara wouldn’t eat the nests at all.  However, they did eat the Peeps and jelly beans.

The nests are very quick and easy to make — perfect for a cooking activity with preschoolers.

Butterscotch Easter Nests
Author: 
Prep time: 
Cook time: 
Total time: 
Serves: 12
 
Ingredients
  • 1 - 12 oz. bag butterscotch chips
  • 1 - 16 oz. bag chow mien noodles
  • 1 cup peanuts
  • milk (if needed)
Instructions
  1. In a large microwave safe bowl, melt the butterscotch chips. I typically melt for about 30 seconds and then stir to judge consistency. Depending on the type of chip you have, you may need to thin them a bit with milk. Add milk, a tablespoon at a time, until chocolate is a pourable consistency. Add in the chow mien noodles and peanuts and stir well until everything is coated with the butterscotch mixture. Scoop onto waxed paper and form into nest shapes. Add jelly beans. Nests will need to set for several hours to harden.


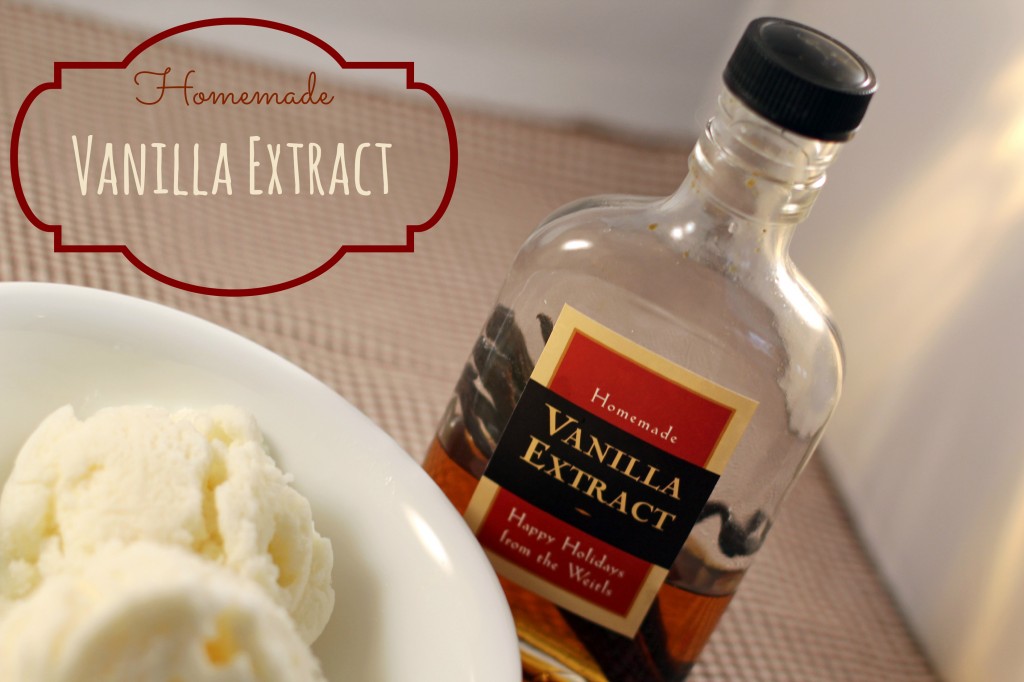
Homemade Vanilla Extract

The secret ingredient in the Snow Day Ice Cream I posted earlier in the week is good quality vanilla extract.  After paying through the nose for vanilla for several years, I ran across several Pinterest pins that discussed recipes. In June, I decided to give it a whirl and at Christmas, I gave bottles of this tasty Homemade Vanilla Extract to nearly everyone on my gifting list.

The key ingredient to this recipe is time!  It’s really quite easy to throw together and the taste is delicious — but it really needs a good six months to become worthwhile.  That’s why I had to make it in June for Christmas gifts!

I ordered 24 Italian Glass Flasks and vanilla beans in bulk from Amazon.  I picked up several large bottles of vodka from Costco and then I was ready to make my extract.  I sliced the vanilla beans in half and split them open.  In each bottle, I used two full vanilla and used a funnel to fill the bottle with vodka.  Once all of the bottles were filled, I put them in one of our storage rooms so they would have a cool dry place to work their magic.  I tried to go in and shake them every week or so but there were definitely some weeks where I forgot about them.

To finish them off and make them “gift worthy” I purchased a Groupon for My Own Labels and customized the label you see above.

I love this type of an item as a gift since it’s usable.  It’s not just another trinket that’s going to take up space and end up in the garage sale pile in a year or two.  Now, I need ideas for what to do for everyone for next year…


Pumpkin Roll

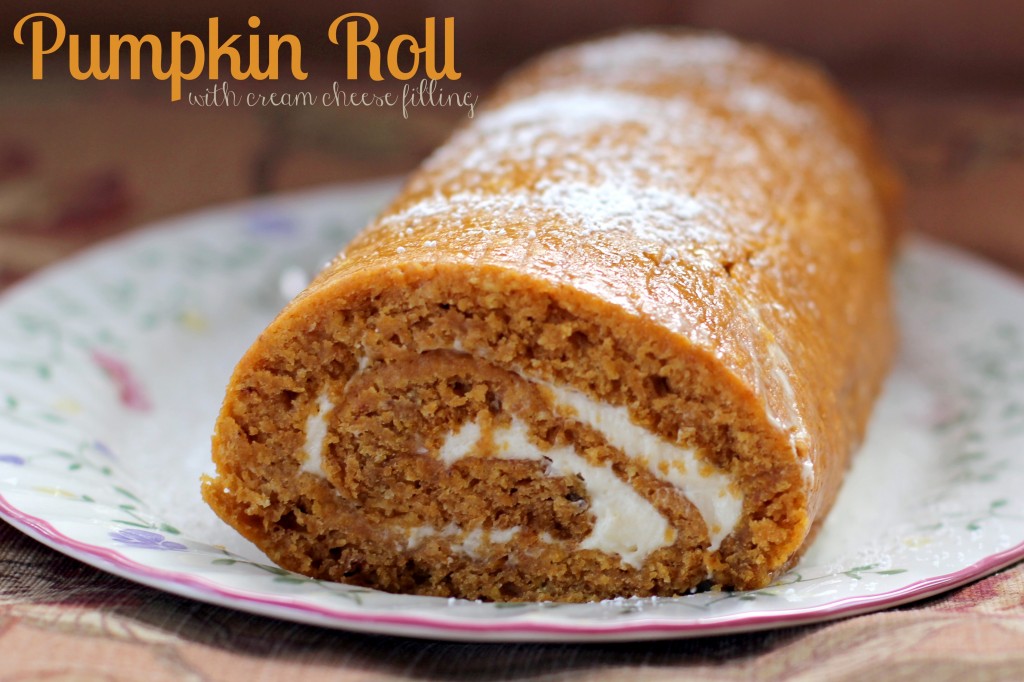
Last Wednesday, Mike and I spent the afternoon baking for Thanksgiving.  Mike made chocolate pecan bars and I made pumpkin pies, pumpkin roll, and pecan pie.  I first made this pumpkin roll in September of 2001 using a recipe from AllRecipes.com.  That feels like the dark ages — I was in college, it was pre-Mike, and very pre-Pinterest.

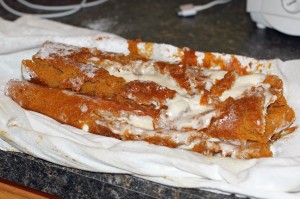
Luckily, AllRecipes.com saves all of my past recipes so I was easily able to find the recipe and thought it would be relatively painless to pull together as I’ve made it several times and never had any issue.  However, since I’m all about keeping it real, here’s a picture of what my first attempt at this pumpkin roll came out looking like last week.

Yeah, there was no way I was serving that at our Thanksgiving dinner.  Mike ran to the store to obtain the ingredients I needed to try again (cream cheese) and the photo above is of the finished product that turned out much more appealing.  I think the issue with the first roll is that the cake was not fully cooked.  I baked it the 15 minutes noted on the original recipe but for the second I baked for 18 minutes.  I also let the successful cake cool longer than the original recipe states – I let it cool almost an hour instead of the 20 minutes recommended.

This pumpkin roll is always a hit and went over well at our Thanksgiving gathering.  It’s the filling that makes it so delicious.  Anna thought so anyway…


Pumpkin Roll
Author: 
Prep time: 
Cook time: 
Total time: 
Serves: 12
 
Ingredients
  • ¾ cup flour
  • 1 cup sugar
  • 1 tsp. baking soda
  • 2 tsp. pumpkin pie spice
  • 1 cup pumpkin puree
  • 3 eggs
  • 1 tsp. lemon juice
  • 1 - 8 oz cream cheese, softened
  • ¼ cup butter
  • 1 tsp vanilla
  • 1 cup powdered sugar
Instructions
  1. Preheat oven to 375. Line a 9x13 inch jelly roll pan or cookie sheet with parchment and spray with Baking PAM.
  2. In a large bowl, mix together the pumpkin puree, eggs, and lemon juice. Add the sugar, baking soda, pumpkin pie spice, and flour, stirring well to combine. Spread the mixture evenly on the to the prepared pan and bake for 15 to 18 minutes.
  3. Lay a damp linen towel on the counter and sprinkle it with confectioner's sugar. Turn the cake onto the towel and roll the towel up with the cake in it. Place the rolled cake-in-towel on a cooling rack and cool for at least 40 minutes.
  4. To prepare the filling, blend the cream cheese (soften in the microwave for 10 seconds if needed), butter, and vanilla. Once combined, add the powdered sugar and blend well.
  5. When the cake has cooled, unroll it and spread the filling. Immediately re-roll and wrap in plastic wrap. Refrigerate and cut into slices to serve.