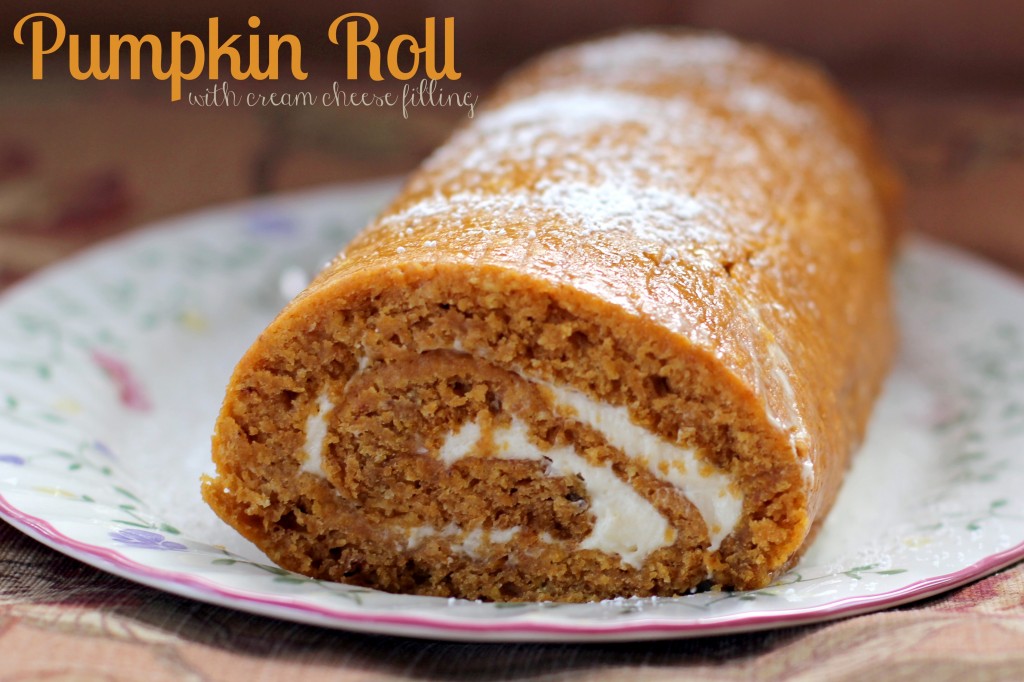
Pumpkin Roll

Last Wednesday, Mike and I spent the afternoon baking for Thanksgiving.  Mike made chocolate pecan bars and I made pumpkin pies, pumpkin roll, and pecan pie.  I first made this pumpkin roll in September of 2001 using a recipe from AllRecipes.com.  That feels like the dark ages — I was in college, it was pre-Mike, and very pre-Pinterest.

Luckily, AllRecipes.com saves all of my past recipes so I was easily able to find the recipe and thought it would be relatively painless to pull together as I’ve made it several times and never had any issue.  However, since I’m all about keeping it real, here’s a picture of what my first attempt at this pumpkin roll came out looking like last week.
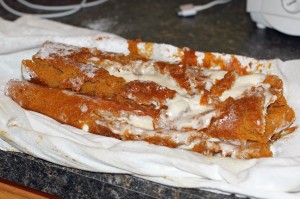
Yeah, there was no way I was serving that at our Thanksgiving dinner.  Mike ran to the store to obtain the ingredients I needed to try again (cream cheese) and the photo above is of the finished product that turned out much more appealing.  I think the issue with the first roll is that the cake was not fully cooked.  I baked it the 15 minutes noted on the original recipe but for the second I baked for 18 minutes.  I also let the successful cake cool longer than the original recipe states – I let it cool almost an hour instead of the 20 minutes recommended.

This pumpkin roll is always a hit and went over well at our Thanksgiving gathering.  It’s the filling that makes it so delicious.  Anna thought so anyway…


Pumpkin Roll
Author: 
Prep time: 
Cook time: 
Total time: 
Serves: 12
 
Ingredients
  • ¾ cup flour
  • 1 cup sugar
  • 1 tsp. baking soda
  • 2 tsp. pumpkin pie spice
  • 1 cup pumpkin puree
  • 3 eggs
  • 1 tsp. lemon juice
  • 1 - 8 oz cream cheese, softened
  • ¼ cup butter
  • 1 tsp vanilla
  • 1 cup powdered sugar
Instructions
  1. Preheat oven to 375. Line a 9x13 inch jelly roll pan or cookie sheet with parchment and spray with Baking PAM.
  2. In a large bowl, mix together the pumpkin puree, eggs, and lemon juice. Add the sugar, baking soda, pumpkin pie spice, and flour, stirring well to combine. Spread the mixture evenly on the to the prepared pan and bake for 15 to 18 minutes.
  3. Lay a damp linen towel on the counter and sprinkle it with confectioner's sugar. Turn the cake onto the towel and roll the towel up with the cake in it. Place the rolled cake-in-towel on a cooling rack and cool for at least 40 minutes.
  4. To prepare the filling, blend the cream cheese (soften in the microwave for 10 seconds if needed), butter, and vanilla. Once combined, add the powdered sugar and blend well.
  5. When the cake has cooled, unroll it and spread the filling. Immediately re-roll and wrap in plastic wrap. Refrigerate and cut into slices to serve.


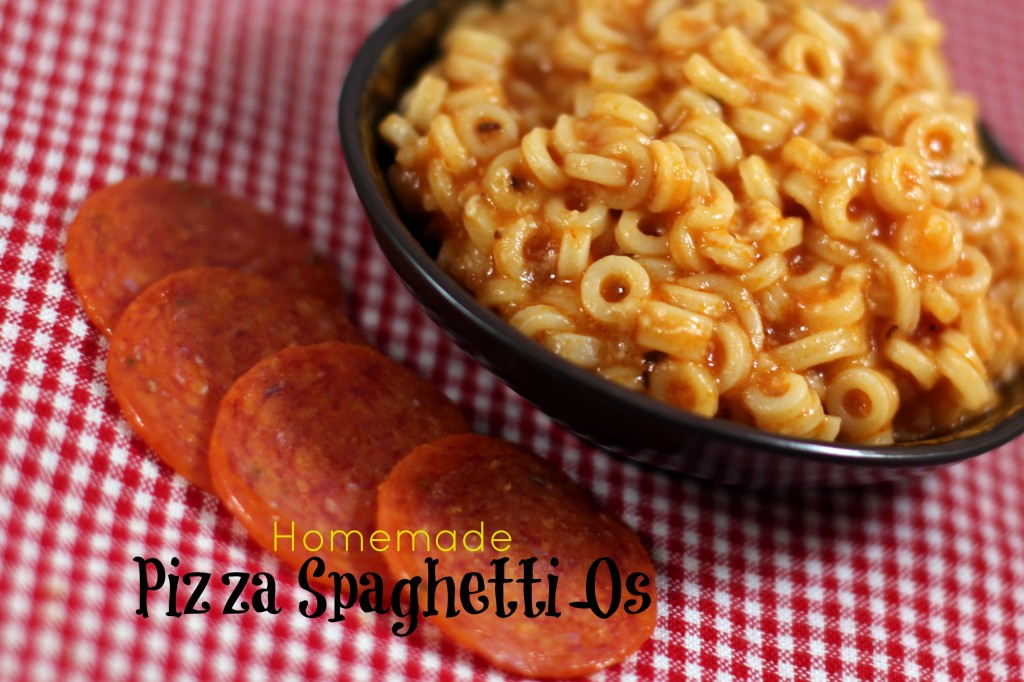
Homemade Pizza Spaghetti-Os


When Bo was a baby I swore that highly processed foods like Spaghetti-Os would never cross his lips.  Then, I became pregnant with twins and since Mike is a closet Spaghetti-Os and canned pasta eater, they ended up in our cabinet. Canned Spaghetti-Os is still one of those foods that I just can’t force myself to feed them — so I save them for Daddy dinners or for the babysitter on date nights.  Of course, my kids love them.

When I ran across a pin on Pinterest for homemade Spaghetti-Os, I knew I had to make them for my kiddos.  Of course, I couldn’t just leave the recipe alone and had to change it up a bit — and Pizza Spaghetti-Os were born.

Of course, Bo was smart enough to realize that these were not the same as their canned counterpart and at first refused to eat them.  However, once he took a bite, he thought they were yummy — even if they didn’t taste quite like “real” Spaghetti-Os.   The girls gobbled them up – no problem.

The secret ingredient in these is the pepperoni flavored pizza sauce by Contadina.  We can’t find it by us (there is three cheese and regular, but not the pepperoni) so we buy it in bulk when we visit Mike’s parents. I served pepperoni on the side as I thought it might be a texture issue for my kids.  However, I think finely chopped pepperoni directly in the pasta would be a delicious addition.

Homemade Pizza Spaghetti-Os
Author: 
Prep time: 
Cook time: 
Total time: 
Serves: 6
 
Ingredients
  • 8 oz pasta rings
  • 2 tsp. minced garlic
  • Pinch of crushed red pepper flakes
  • 15 oz can Contadina brand Pepperoni flavored pizza sauce
  • 1 cup water
  • 1 Tbsp. tomato paste
  • ½ tsp. salt
  • ¼ tsp. pepper
  • ½ tsp. granulated sugar
  • 4 Tablespoons unsalted butter, cut into pieces
  • ¼ cup skim milk
  • 1 cup shredded pizza-blend cheese
Instructions
  1. Cook the pasta according to the package directions. In a large saucepan, heat 2 Tbsp. of the butter over medium heat. Add the garlic and red pepper, then stir in the pizza sauce, water, tomato pasta, salt, pepper, sugar, and remaining butter. When the butter is completely melted and the sauce warm, stir in the milk. Simmer until the pasta is done.
  2. Remove from heat and stir in the pizza cheese until melted. Drain the pasta and combine with approximately ¾ths of the sauce (any more and it will be soupy). Stir to combine. Add finely chopped pepperoni or serve with pepperoni on the side.

I made this for dinner on a week night last week and it was very quick and easy.  Not quite as easy as opening a can, but still not a lot of effort.  After my trio ate there were enough leftovers for another full meal.


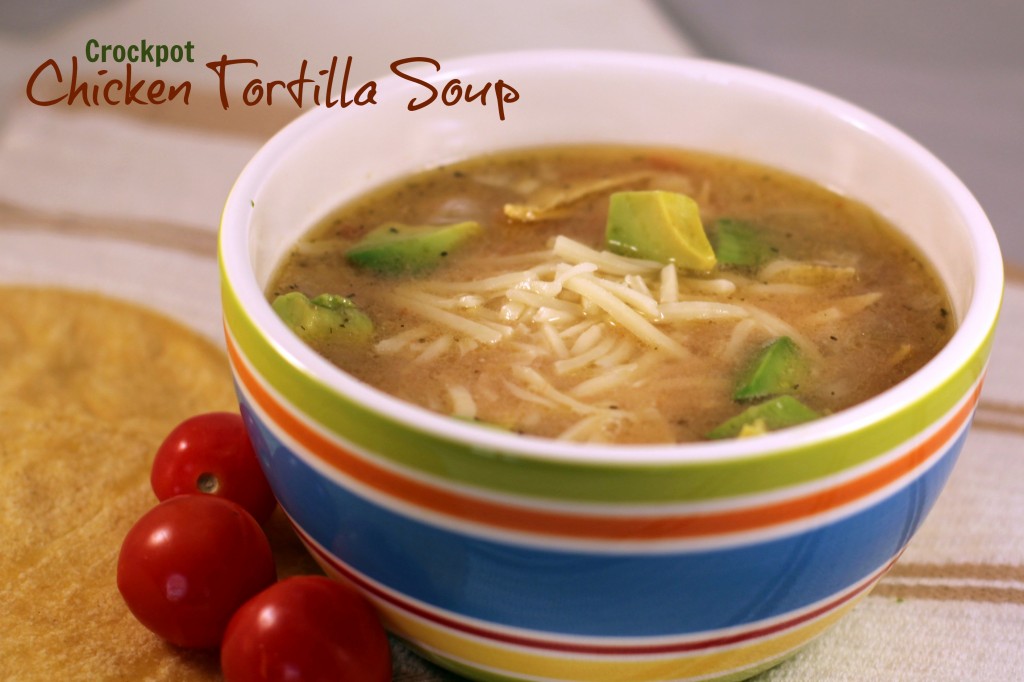
Chicken Tortilla Soup {Crockpot}


Yesterday, we we went for a family walk after our Thanksgiving dinner and it was beautiful outside.  The temperature was nearly 60 and just gorgeous.  Today, winter has set in with temperatures in the low 30’s and wind chills in the teens here in the Midwest.  I can’t say I’m thrilled (I told Mike today I wanted to live in Florida) but at least I can have warm soup for dinner while curled up by the fire (if I can convince Mike to light one…) 🙂

Continuing with our Mexican kick, I threw together (literally) chicken tortilla soup.  I’ve made several versions, but this quick and easy crockpot recipe wins out often because it is so painless.  It makes a lot, freezes well, and is good for leftover lunches.  I’m not sure where the base recipe originated from but it’s probably somewhere in cyberspace.

I threw this soup together while the trio was eating breakfast and it was ready to go by lunchtime with thawed chicken breasts.  I’ve also made it using frozen chicken breasts, which I’d recommend if you plan to make it in the morning and serve for dinner.  This soup pairs well with BLT Guacamole and chips.

If you have some leftover turkey that you’d like to throw in instead of chicken, I think it would be just as good.  I’d reduce the cook time to 2 to 3 hours since the turkey is already cooked.  I don’t see anything wrong with adding a bit of Mexican flair to your Thanksgiving leftovers!

Chicken Tortilla Soup {Crockpot}
Author: 
Prep time: 
Cook time: 
Total time: 
Serves: 10
 
Ingredients
  • 4 boneless chicken breasts (can be frozen)
  • 1 - 4 oz can green chilies, drained
  • 2 tsp. minced garlic
  • 1 yellow onion, diced
  • 2 - 15 ounce cans of Rotel tomatoes with green chilies
  • 1 cup chicken broth
  • 1 tsp cumin
  • salt and pepper
  • 4 corn tortillas, sliced into ¼ inch stripes
  • 2 Tbsp. cilantro
  • ½ cup shredded Monterey jack cheese
  • lime juice
  • avocado (optional)
Instructions
  1. Place chicken in crockpot and toss in the chilies, garlic, onion, Rotel, broth, cumin, and salt and pepper on top. Stir occasionally while cooking to shred chicken as it cooks. For frozen chicken cook on high for 8-9 hours. For thawed chicken, cook on low for 4-5 hours. Just before serving, add tortillas and cilantro. Serve by topping each bowl with shredded cheese, diced avocado, and a squeeze of lime.


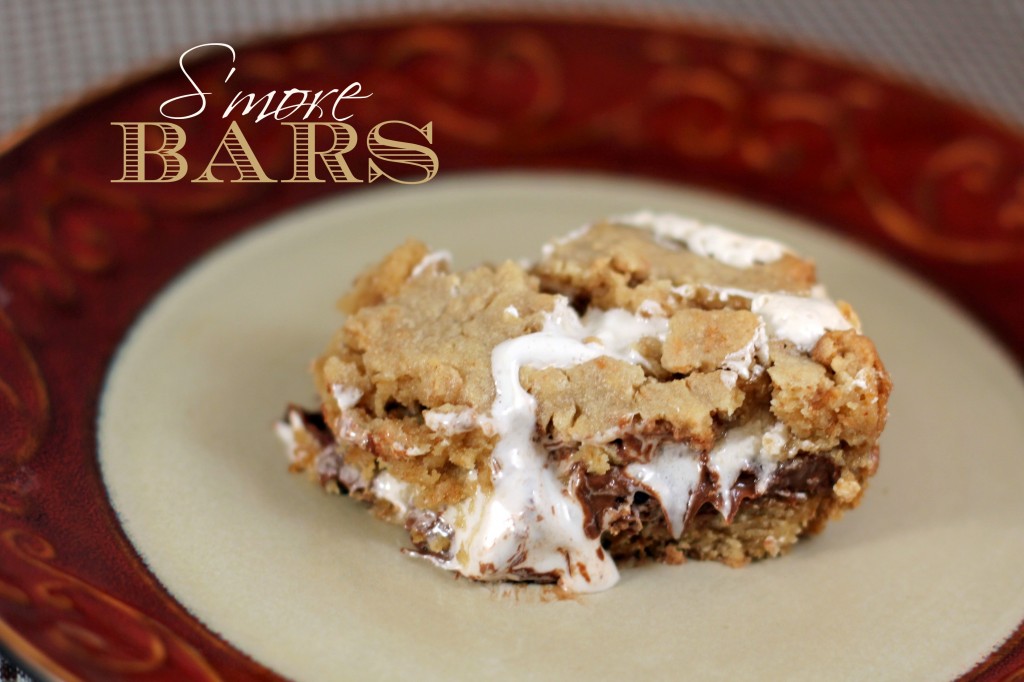
S’more Bars

I made these bars a few weeks ago when we were going to the Kilmartin’s to watch the Bears game.  I’d originally planned to make cookies but there were three king size Hershey Bars sitting on our counter that one of our neighbors gave the kids for Halloween. I’ve religiously pinned every s’mores recipe that comes across my feed on Pinterest so I knew there would be a recipe there that would satisfy my love of s’mores and use the Hershey bars in one fell swoop.

I used this recipe from Sugar Cooking as the base recipe for my s’more bars with a few minor adjustments.  My bars are extra marshmallowy and gooey due to extra marshmallow fluff and they definitely aren’t as beautiful as hers!

I really enjoyed these bars but I miss the roasted flavor of the marshmallow.  I’m one of those people who likes their marshmallows blackened, so obviously these s’mores didn’t provide the cancer-causing carcinogens I was craving from blacked sugar molecules.  However, the gooey factor is definitely there — and they are definitely ooey and messy.  Yum!

S'more Bars
Author: 
Prep time: 
Cook time: 
Total time: 
Serves: 9
 
Ingredients
  • ½ cup butter, room temperature
  • ¼ cup brown sugar
  • ½ cup sugar
  • 1 large egg
  • 1 tsp vanilla extract
  • 1 cup all purpose flour
  • 1 cup graham cracker crumbs
  • 1 tsp baking powder
  • ¼ tsp salt
  • 2 king-sized milk chocolate bars
  • 2 (8 oz) containers marshmallow fluff
Instructions
  1. Preheat oven to 350°F. Spray an 8-inch square baking pan with PAM. In a large bowl, cream the butter and sugar. Add the egg and vanilla. In a separate bowl, combine the flour, graham cracker crumbs, baking powder and salt. Add to butter mixture and mix until well combined.
  2. Divide dough in half and press half of dough into an even layer on the bottom of the prepared pan. Place chocolate bars over dough. Spread chocolate with marshmallow creme or fluff. Place remaining dough in a single layer on top of the fluff.
  3. Bake for 30 to 35 minutes, until lightly browned.


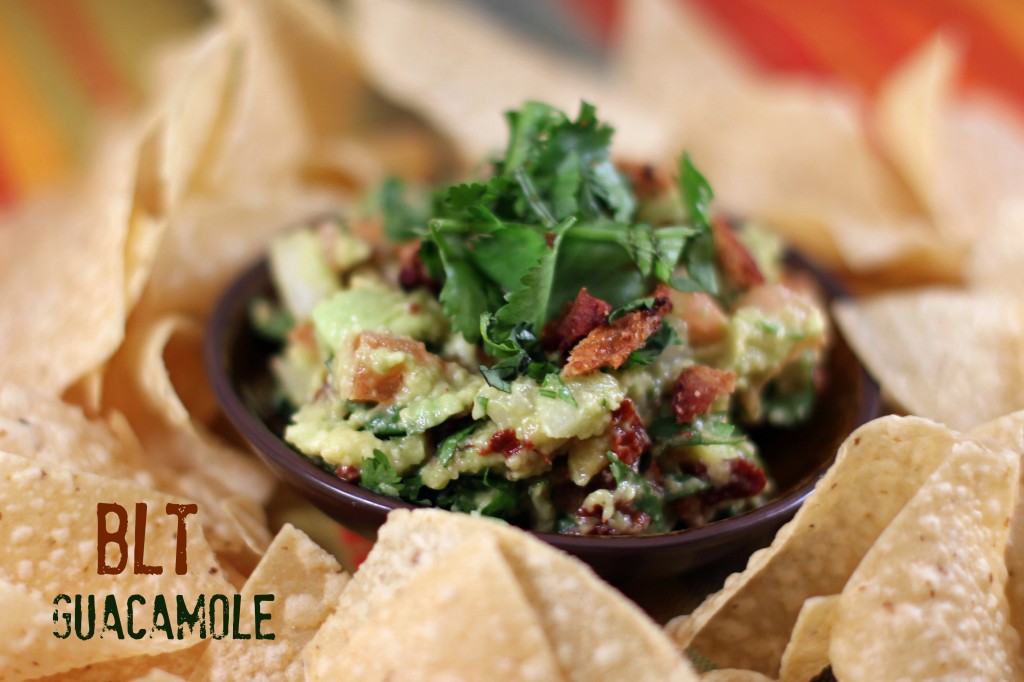
BLT Guacamole

Within the last year, Mike has discovered the beauty of guacamole.  Before, he wouldn’t touch the stuff, now he can’t seem to get enough.  During his Monday cooking spree last week, he attempted a version of Rick Bayless’ guacamole from the “Fiesta at Rick’s” cookbook.

Mike and I are huge Top Chef fans (we’ll be cruising with Top Chef stars in April!) and discovered Rick Bayless when he was on Top Chef Masters.  When we went to Chicago a few weeks before my 30th birthday we ate at Frontera Grill and I received Rick’s cookbook from Mike for my birthday.  It’s one of those books we’ve looked at longingly for awhile but now we’re finally venturing to try some of the recipes.  Especially since we both seem to want to eat Mexican food every day!

This guacamole is delicious.  It’s spicy with a bit of kick without being overpowering and the bacon adds a smokey goodness that elevates guacamole to a whole new level.  This recipe is a keeper — and one we’ll be making again and again!

We did have to venture to the Mexican market for the chipotle chiles en adobo, which are essential for this recipe.  For those of you that are even more rural than we are, I did find them on Amazon.  One can would make several batches of guac.

BLT Guacamole
Author: 
Prep time: 
Total time: 
Serves: 6
 
Ingredients
  • 5 strips thick cut bacon, cooked until crisp and crumbled
  • 3 large, ripe avocados
  • ½ medium white onion, finely chopped
  • 2 or 3 canned chipotle chiles en adobo, removed from canning sauce, stemmed, slit open, seeds removed and finely chopped
  • 1 large tomatoes cored and finely chopped
  • ½ cup chopped fresh cilantro
  • salt
  • 1 to 2 Tbsp. fresh lime juice
Instructions
  1. Scoop the flesh from the avocados into a large bowl. Using a potato masher or large fork, mash the avocados. Add the onion, chiles, tomatoes, cilantro, and about ⅔ of the bacon. Gently stir to combine. Taste and season with salt and lime juice.
  2. Use plastic wrap to cover the surface of the guacamole until ready to serve. Sprinkle with remaining bacon and a bit of cilantro and enjoy!


Chocolate Pecan Pie Bars

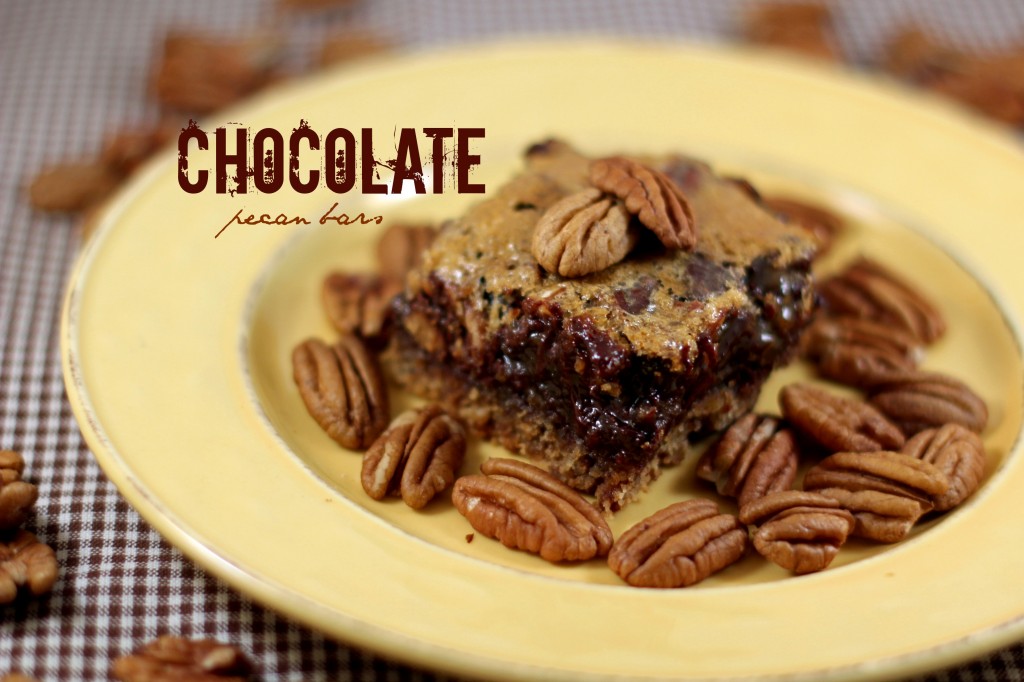
Mike made these phenomenal bars on Monday evening.  He was off work on Monday to celebrate Veteran’s Day but our kiddos still had school so while I was working on Monday morning he sprawled out on the bed in my office/guest room and flipped through Rick Bayless’s “Fiesta at Rick’s” cookbook while making a grocery list for us to tackle.  One of his finds was these little gems.

We had to make a few modifications to Rick’s recipe (we couldn’t find Mexican chocolate here in the rural Midwest — surprise surprise) but overall the recipe is the same as the one found in the cookbook.

Words can’t express how good these are.  They’ve been my biggest diet weakness this week.  On Tuesday morning, I met some friends for a 5:30 am workout and then came home and blew it all by eating one of these bars for breakfast with a cup of coffee.  Unfortunately, that seems to be how I roll.

Chocolate Pecan Pie Bars
Author: 
Prep time: 
Cook time: 
Total time: 
Serves: 18
 
Ingredients
  • 2 cups pecan halves
  • 9 oz. bag pretzel rods
  • 4 sticks unsalted butter
  • ½ cup sugar
  • 8 ounces bittersweet chocolate, chopped into pieces not larger than ¼ inch
  • 4 ounces finely chopped semi-sweet chocolate, finely chopped
  • 3 Tbsp flour
  • 6 large eggs
  • 1½ cups dark brown sugar
  • 1½ cups dark corn syrup
  • 1 Tbsp good quality vanilla extract
Instructions
  1. Preheat oven to 325. Toast the pecans on a rimmed baking sheet until noticeably darker and toasty smelling - about 10 minutes. Let the pecans cool, then coarsely chop into ¼ to ½ inch pieces. Scrape into a large bowl.
  2. Meanwhile, chop the pretzels into fine crumbs. In a saucepan melt 2 sticks of butter. Add butter to the food process along with the ½ cup of sugar. Pulse until everything is combined.
  3. Butter the bottoms and sides of two 8x8 inch baking pans. Cut a piece of parchment to fit the bottom of each pan. Butter the parchment. Divide the crumb mixture between the pans and pat into an even layer.
  4. To the pecans, add the two chocolates and the flour. Stir to combine and divide between the two pans. In a small saucepan, melt the remaining 2 sticks of butter. Using a mixer, combine the eggs, brown sugar, corn syrup, and vanilla and beat. Slowly add the melted butter, mixing until the batter looks smooth. Divide the batter between the two pans, pouring it evenly over the chocolate and pecans.
  5. Bake for 45 to 55 minutes until the center is almost firm. Let cool to room temperature and refrigerate for easy cutting. Use a knife to loosen the sides, then turn out. Cut into 2-inch squares.


These would be an outstanding alternative to traditional pecan pie for your upcoming Thanksgiving meal or for your holiday baking. Amazingly good!

Italian Herb Bread

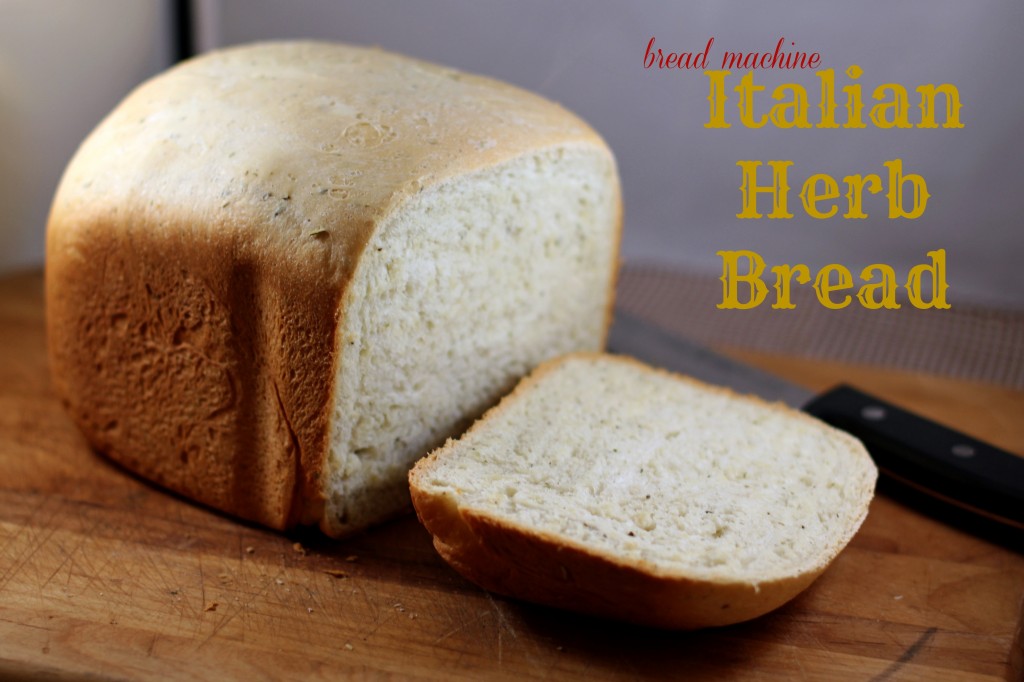
If you don’t have a bread machine but love fresh bread, you need to add one to your Christmas Wishlist.  Yes, it takes up a lot of room on my counter, but the smell of fresh baked bread with relatively little effort is completely worth it!

I received my bread machine for my birthday two years ago. At the time, I was still nursing my twin girls and didn’t have to worry about calorie or carb counting.  Now, I have to be a bit more aware of how much of this delicious bread I consume, but it’s still a staple recipe in our house.  I’ve made it dozens of times and it’s perfect to take with dinner to a friend post-surgery or to serve with spaghetti or lasagna on a chilly fall night.  Best of all, it’s quick and easy and requires relatively little prep, which is why it’s one of our favorites.

Italian Herb Bread
Author: 
Prep time: 
Cook time: 
Total time: 
Serves: 8
 
Ingredients
  • 1¼ cups warm water
  • 2½ Tbsp. oil
  • ¼ cup sugar
  • 2 tsp. salt
  • 4 cups bread flour
  • 2 Tbsp. dried Italian Seasoning
  • 2¼ tsp. yeast or 1½ tsp quick rise yeast
Instructions
  1. Pour all ingredients in machine in the order listed above. Set to the basic setting for a large loaf. We prefer light crust. Bread machines make this recipe extremely easy!

This recipe receives Five Wooden Spoons from my family as they all love it. Especially slathered with butter.

Pancake Squares

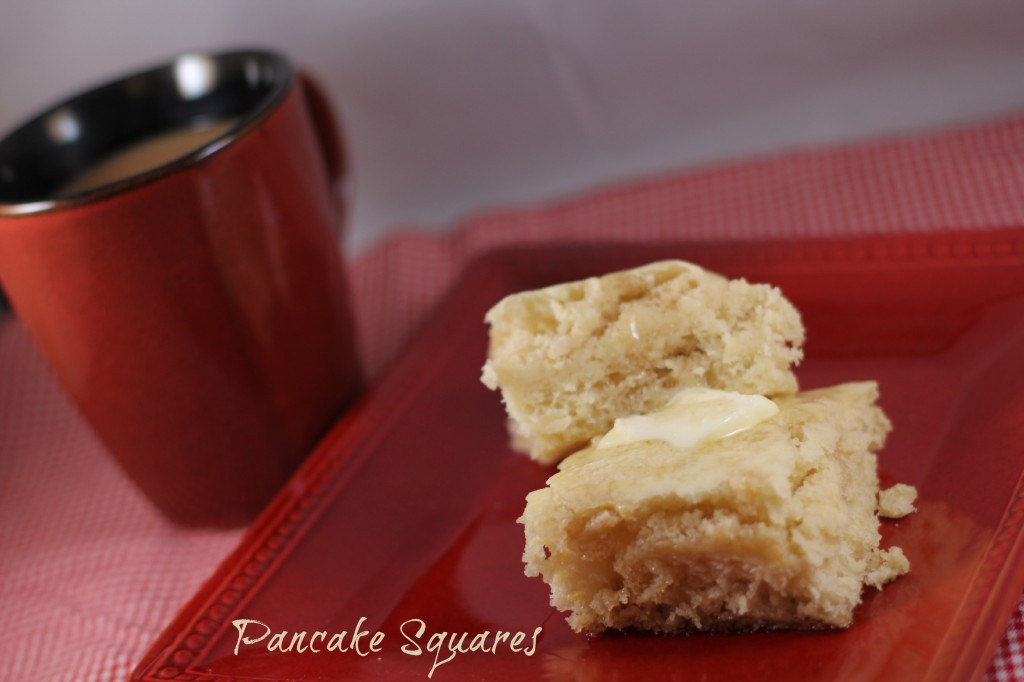
One of our new favorite breakfasts are these quick and easy pancake squares.  I originally found the idea on Pinterest and used the recipe from Big Red Kitchen.  After making them once, I quickly realized that I needed to make more to feed my growing kiddos (and if I wanted one for myself!) and adjusted the recipe with a few tweaks as well. Often, on school days, Bo would request pancakes and I’d try to steer him to something slightly less labor intensive.  It isn’t that making traditional pancakes is difficult – it isn’t – but it can be time consuming when trying to wrangle three kiddos out the door for school fully dressed and with well-packed lunches.  These square pancakes are the perfect compromise — all of the pancake flavor without having to spend 20 minutes at the stove.  I just mix up the ingredients, pour it in the pan, and while it bakes I can make the other breakfast components, finish packing lunches, and lay out their clothes for the day. Honestly, I think the taste of these pancakes is probably better than traditional pancakes.  They are fluffy and more cake-like — but with a pat of butter and warmed maple syrup, they are divine.  Bo agrees.  When I made them last week he ate four squares — and still wanted more!

Pancake Squares
Author: 
Prep time: 
Cook time: 
Total time: 
Serves: 6
 
Ingredients
  • 1½ cups skim milk
  • 4 Tbsp melted butter
  • 2 large eggs
  • 2 Tbsp honey
  • 1 tsp vanilla
  • 2 cups all-purpose flour
  • 4 tsp baking powder
  • ½ tsp salt
Instructions
  1. Preheat oven to 350. In a large bowl combine the milk, butter, eggs, honey, and vanilla. Mix well. Add salt and baking powder. Stir in flour until combined. Do not over stir. Spray 9 x 13 inch dish with baking PAM and then pour in the batter. Bake for 22-25 minutes. Cut into squares and serve with butter and syrup.

Updated to add – try these sprinkled with mini-chocolate chips before baking. Delish!

Crockpot Chicken Stock

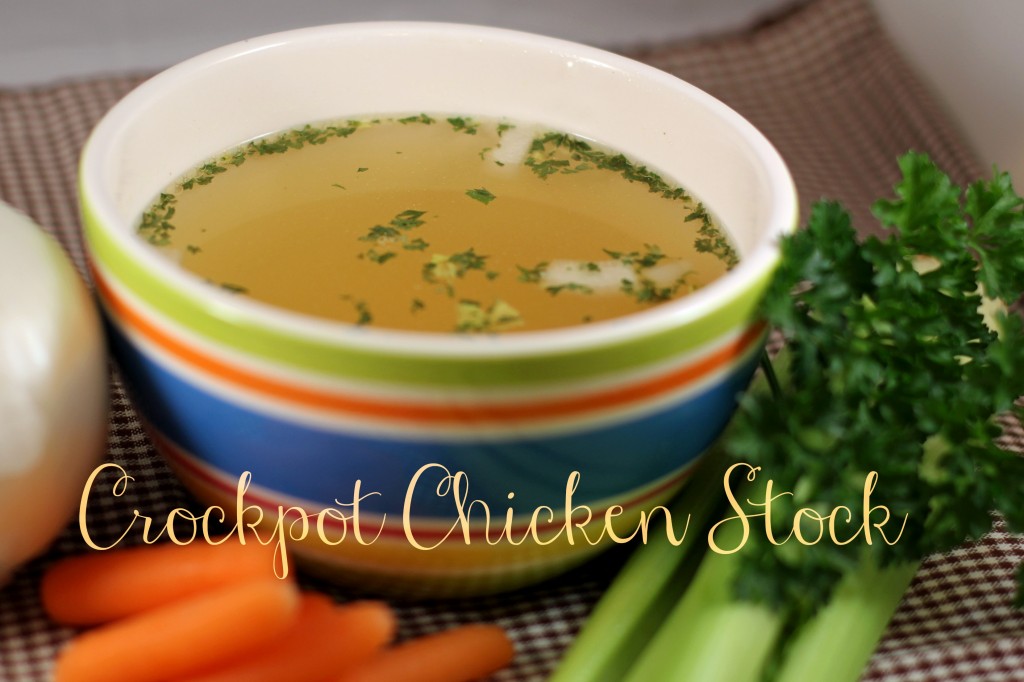
I’ve spent the afternoon making dinner to take to one of my friends who just had her fourth child.  The primary ingredient in many of the dishes that I made (and will hopefully be sharing with you soon) is this amazingly easy, cheap, and delicious crockpot chicken stock.

Mike and I just discovered the wonders of making our own chicken stock about a year ago.  We make large batches and freeze it so we always have homemade chicken stock on hand.  I think the flavor is much deeper than the canned broth — plus it’s significantly cheaper too.  Especially for days like today when I need mass quantities!  Today I used over 10 cups of chicken stock!

The main ingredient in our stock is the carcass of a rotisserie chicken.  Every couple of weeks Mike will pick one up on his way home from work for an easy dinner.  The kids love it plain and we enjoy making wraps with the shredded meat.  Once we’ve picked it clean (or as clean as we want — we aren’t big fans of the dark meat) I throw it in the crockpot with ingredients that we always seem to have on hand and let it simmer away for a day or so before straining and freezing.  Homemade chicken stock is the base for many of my recipes.

5.0 from 1 reviews
Crockpot Chicken Stock
Author: 
Prep time: 
Cook time: 
Total time: 
Serves: 8
 
Ingredients
  • Rotisserie Chicken Carcass
  • 2-3 stalks celery, chopped
  • ½ onion, chopped
  • 8-10 baby carrots, chopped
  • 1 Tbsp olive oil
  • 2 Tbsp minced garlic
  • 2 Tbsp. parsley, dried or fresh
  • 2 cubes chicken bouillon
  • 8-10 cups water
Instructions
  1. In a large crockpot, drizzle the oil and add the chopped celery, onion, carrots, and garlic. Let simmer a bit until the veggies are warm and then add the chicken carcass, water, and parsley. Simmer on low for 10-12 hours. Strain. Stock can be used immediately or frozen.


Chocolate Pudding

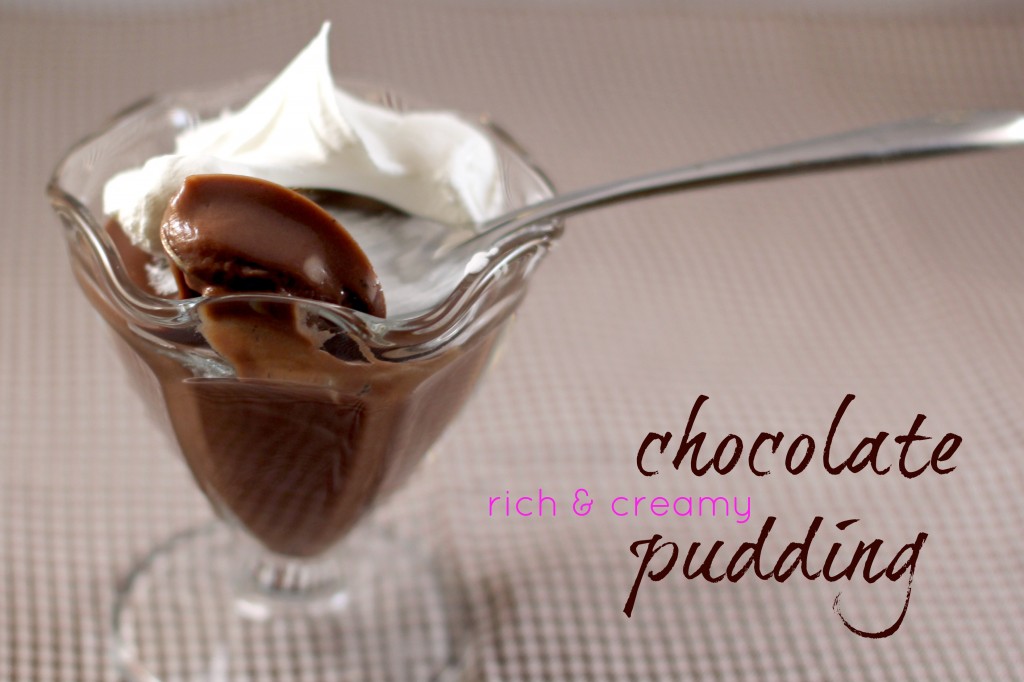
I’ll admit to loving the Jell-O boxed pudding. Pudding pies and pudding cups made from the Cook-n-Serve Jell-O boxes was a staple in my mom’s dessert repertoire.  However, my chocolate pudding of choice as a child was my typical breakfast when accompanying my grandpa to the local coffeeshop – a huge slice of homemade chocolate pie.  Usually he let me order a Sprite with it as well.  When I’m missing Grandpa and desire the creamy comfort of pudding, these days I generally choose to forgo the box and make the homemade version.  It reminds me of that coffeeshop pie – especially when I add whipped cream on top.

This rich and creamy version has the smooth texture of Jell-O with significantly more flavor.  While it still has plenty of sugar, the milk and eggs make this pudding protein rich and significantly less chemically than it’s Cook-n-Serve counterpart.   And truly, it’s just as quick and easy.

Bo’s not a pudding fan (neither is Mike — I find them both strange) but the girls and I enjoy the creamy goodness of this chocolate pudding — sometimes even while it’s still warm.  Anna and I made this together and she eagerly helped me lick the saucepan.  Waiting for it to cool thoroughly is the most difficult aspect of this recipe!

Chocolate Pudding
Author: 
Recipe type: Dessert
Prep time: 
Cook time: 
Total time: 
Serves: 6
 
Ingredients
  • ⅔ cup sugar
  • 3 Tbsp Cornstarch
  • 3 cups whole milk
  • yolks of 5 large eggs
  • 1 tsp vanilla extract
  • 4 oz semisweet chocolate baking bar
Instructions
  1. Whisk sugar, cornstarch, milk and yolks in a medium saucepan. Bring to a boil. Reduce heat and cook 2 minutes. Remove from heat and add vanilla and chocolate. Stir until well combined. The filling can also be used as a pie filling.
  2. The leftover egg whites are great to use for Angel Food Cake.

***I often substitute skim milk for the whole milk because it’s what we have on hand. The picture above used skim milk and it’s still amazingly rich, creamy, and tasty!***