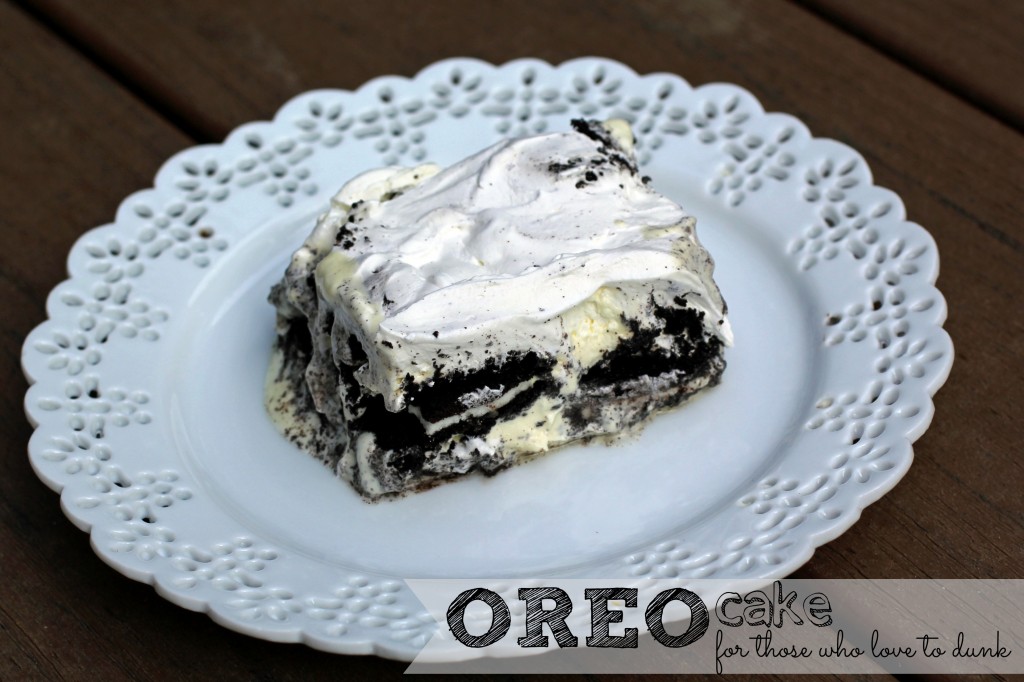
OREO Cake Creation

On Friday evening, we had the Cetwinski’s over to enjoy our new deck.  We cooked burgers on the grill, allowed the kids to run crazy in the yard (and get covered in mosquito bites), and enjoyed my Oreo cake creation.

On Thursday afternoon, I was trying to think of something I could make that would utilize mostly ingredients I already had.  I ended up making this recipe up as I went and it actually turned out really good.  It’s basically a combo of dirt cake and eclair cake.  It tastes exactly like Oreos that have been dunked in milk.  If you’re an Oreo dunker, you’ll love this cake!

This cake would be perfect for a bbq, potluck, or other family gathering this summer.  Cool, creamy, and delicious!

OREO Cake Creation
Author: 
Prep time: 
Total time: 
Serves: 12
 
2 packages Oreo cookies 1 large box instant vanilla pudding 1½ cup milk 1 - 8 oz. cream cheese, softened 1 cup powdered sugar 2 Cool Whip
Ingredients
  • In a large bowl combine milk and instant pudding until well mixed. Fold in 1 container of Cool Whip. In another bowl, whip together the cream cheese and powdered sugar. Fold into the other mixture. In a 9x13 inch pan, cover the bottom with Oreos. Pour half of the pudding mixture over the top and place another layer of Oreos and then the rest of the pudding mixture. Top with the remaining container of Cool Whip. Chill for at least 12 hours before serving to achieved the "dunked" Oreo effect.

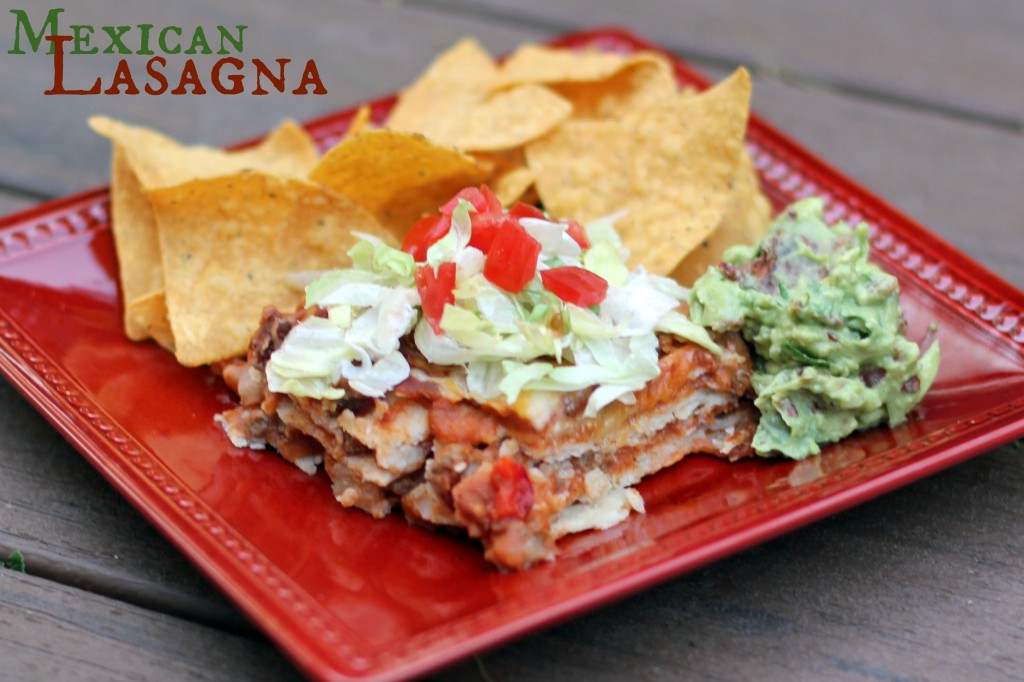
 

Mexican Lasagna


I originally made this recipe about 4 years ago and Mike wasn’t a fan.  I made it again last week and he thought it was great.  Someone’s palate is expanding.  Thank the Lord!

This recipe is a great alternative to the traditional “taco night” – basically it’s a combo of enchiladas and tacos in lasagna form.  It tastes great and reheats very well for leftovers.  I ate it for breakfast the next morning.  I actually ate this four times — two dinners, once for lunch, and once for breakfast.  It’s delicious.  We served it with Mike’s infamous BLT guacamole.

Definitely a winner — and a recipe that I’ll be adding to our regular rotation.

Mexican Lasagna
Author: 
Prep time: 
Cook time: 
Total time: 
Serves: 8
 
Ingredients
  • 1 lb hamburger
  • 10-15 corn tortillas
  • 1 large can enchilada sauce
  • 1 can fat free refried beans
  • ½ cup chopped onion
  • ½ cup chopped green pepper
  • 1 bag shredded Mexican blend cheese
  • diced tomatoes
  • lettuce shreds
  • sour cream
Instructions
  1. Preheat oven to 350. In a skillet, brown hamburger, onion, and green pepper. Drain. Add enchilada sauce and refried beans and cook until bubbly. Spray a casserole dish with Pam and place tortillas in the bottom (I broke some of them in pieces to mostly cover the bottom. Pour ⅓ of the hamburger mixture over the top of the tortillas and then ⅓ of the bag of shredded cheese. Repeat layers 2 more times. Bake for 20-25 minutes until bubbly. Top with diced tomatoes, lettuce, and sour cream.


Jack Daniel’s Sauce

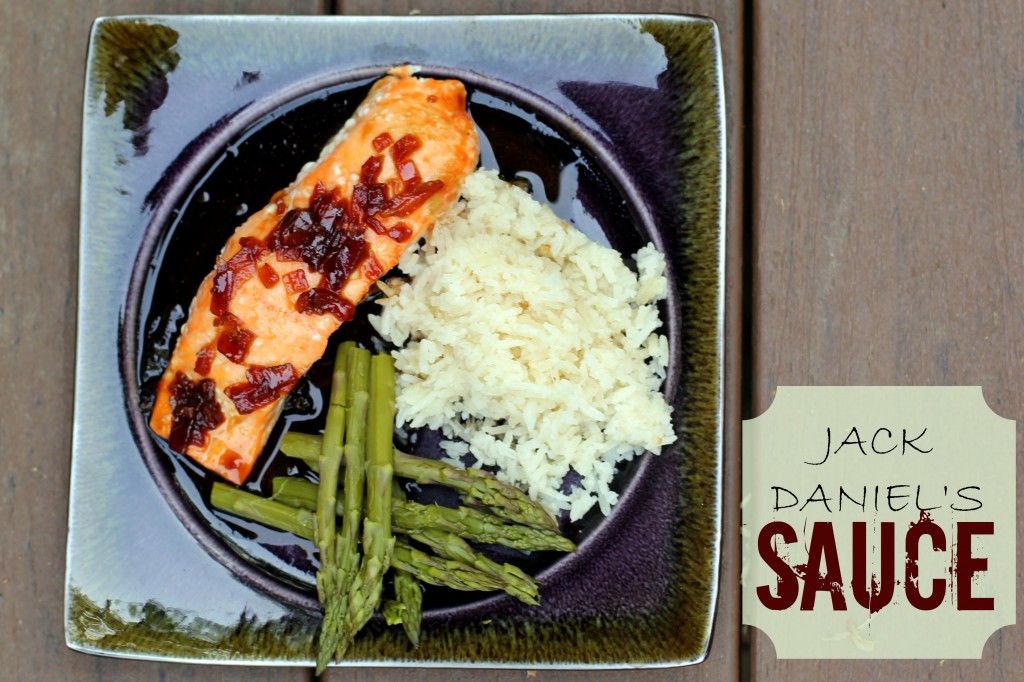
When I was in high school and college, one of my favorite places to go out to eat was TGIFriday’s.  I loved the Jack Daniel’s sauce — especially the appetizer with chicken tenders and the grilled chicken and salmon.  Last week, I was craving it, and without a TGIFriday’s in our area, I set out to recreate the dish at home.

I threw this sauce together on a weeknight and it made for a very tasty dinner.  I baked the salmon for about 12 minutes and made the rice and vegetables in the rice cleaner so overall it was fairly painless.  This sauce packs all the flavor and must be very close to TGIFriday’s recipe.  Since only Mike and I ate the salmon, I saved the rest of the sauce glaze chicken from the grill over the weekend.  Also a hit!  Both Mike and I approve — and we didn’t offer any to the children… 😉

Jack Daniel's Sauce
Author: 
Prep time: 
Cook time: 
Total time: 
Serves: 6
 
Ingredients
  • 1 whole finely chopped red onion
  • ½ tsp. minced garlic
  • 1 cup brown sugar
  • ½ cup teriyaki sauce
  • ¼ cup soy sauce
  • ⅓ cup white grape juice
  • ½ cup bourbon
  • ½ tsp. Tabasco
Instructions
  1. In a large saucepan, saute the onion and garlic. Add all ingredients and bring to a slow boil. Lower heat and let simmer for 20 minutes or until it begins to thicken and becomes more sauce like. Great served with grilled chicken, salmon, or steak.


Taffy Apple Salad

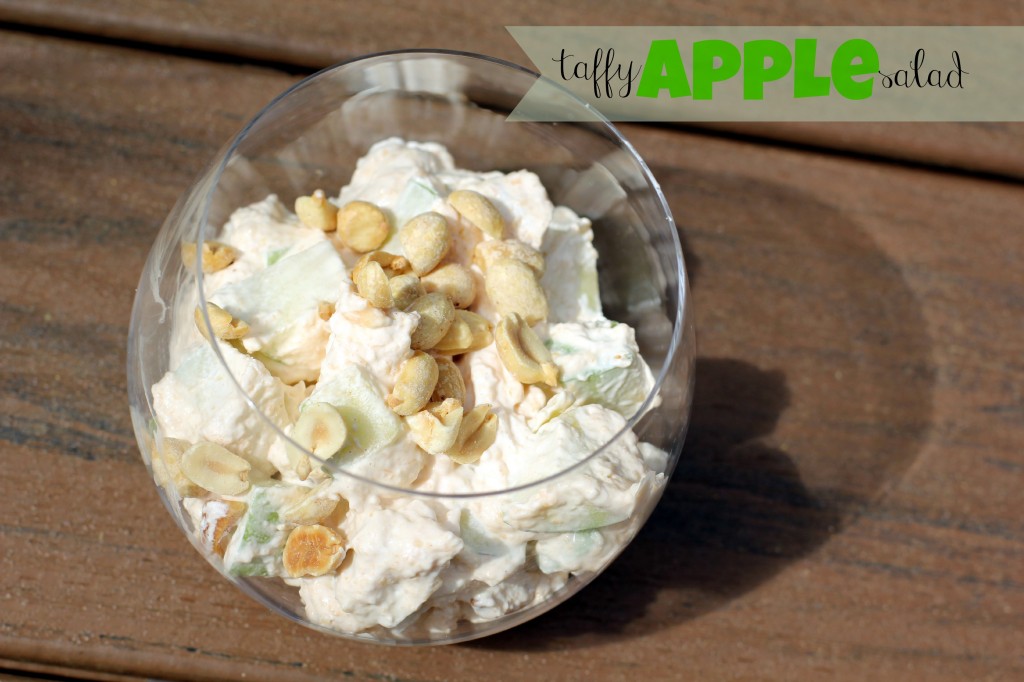
I’m not one that typically enjoys random side dishes but this recipe works great as a tasty side for a cookout or potluck.  It’s also a great snack or dessert.  I originally found this recipe when I was doing Weight Watchers made with sugar free/fat free pudding and Cool Whip free.  However, this batch was fully leaded.

I thought my kids might like it but they weren’t even willing to try it.  Neither was Mike.  It’s a strange combination of ingredients but the flavor and taste is quite delicious.  It’s also pretty quick to throw together for a last minute gathering.

Taffy Apple Salad
Author: 
Prep time: 
Total time: 
Serves: 8
 
Ingredients
  • 4 green apples, chopped
  • 1 - 16 oz. can crushed pineapple
  • 1 small instant butterscotch pudding mix
  • 1 container Cool Whip
  • ¾ cup peanuts (optional)
Instructions
  1. In a blender, puree the crushed pineapple. Add the butterscotch pudding mix and whip until well combined. Fold in the Cool Whip. Add the chopped apples and fold in. Garnish with peanuts and chill before serving.


Chocolate Pudding Cake

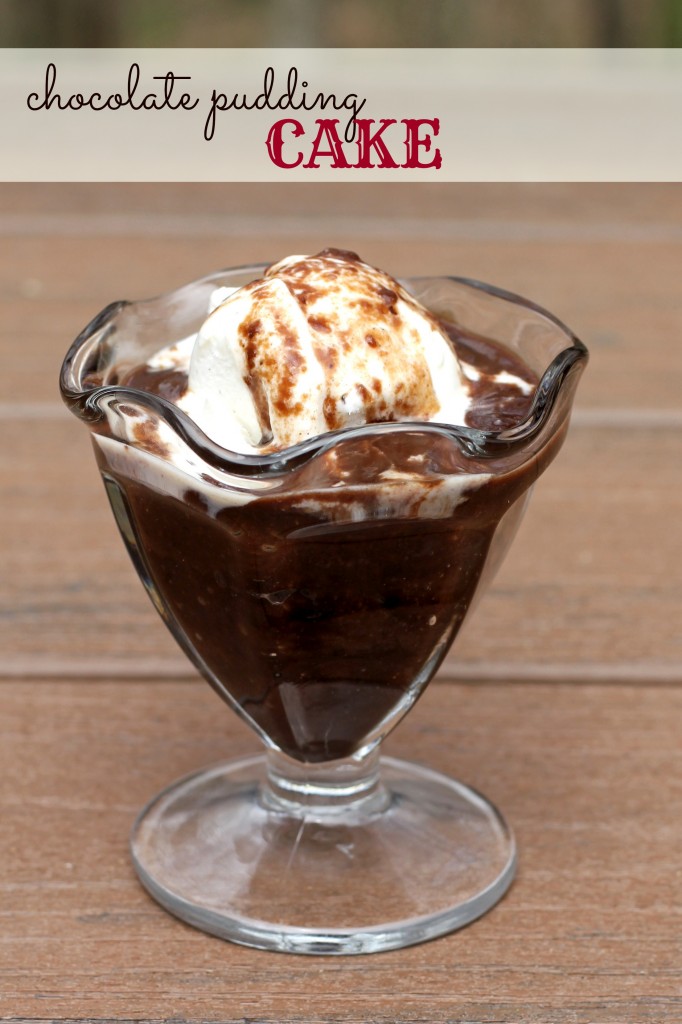
On Saturday evening, Mike was grilling steaks to celebrate our new deck and I threw together this tasty chocolate pudding cake.  I had seen a similar recipe on Something Swanky for Easy Hot Fudge Cake (wish she’d host a photography class…) late last week and it reminded me of this recipe.  However, I knew if I called it Hot Fudge Cake Mike would be 10 times more likely to eat it.  So I dug out my old “Heavenly Dishes” cookbook that my mom and my deceased ex-step-grandma bought for me (I have two copies) when I was around 9 and threw together this recipe, dubbed it Hot Fudge Cake instead of Chocolate Pudding Cake, and it was was enjoyed by all.

This was actually the first cake I ever made from scratch by myself.  It’s extremely easy — it is all mixed in the same 9×9 pan it’s baked in — and turns out super rich and gooey.  I remember eating it as a kid with milk poured on top.  However, it’s even better with a big scoop of vanilla ice cream.  It’s very rich so a little goes a long way.  Definitely one of my ultimate comfort foods!

Chocolate Pudding Cake
Author: 
Prep time: 
Cook time: 
Total time: 
Serves: 9
 
Ingredients
  • Cake:
  • ¾ cup sugar
  • 1 cup flour
  • ¼ tsp salt
  • 2 Tbsp. cocoa
  • ½ cup milk
  • 3 Tbsp. melted butter
  • 1 tsp vanilla
  • Topping:
  • ½ cup sugar
  • ½ cup brown sugar
  • ¼ cup cocoa
  • 1½ cups water
Instructions
  1. Combine dry cake ingredients in a 9 inch square pan. Stir in milk, butter, and vanilla. Spread batter in pan. Mix topping sugars and cocoa together and sprinkle over batter. Pour water over all (do not mix) and bake at 350 for 40 to 45 minutes. Serve warm with cream.


Laura’s Eclair Cake

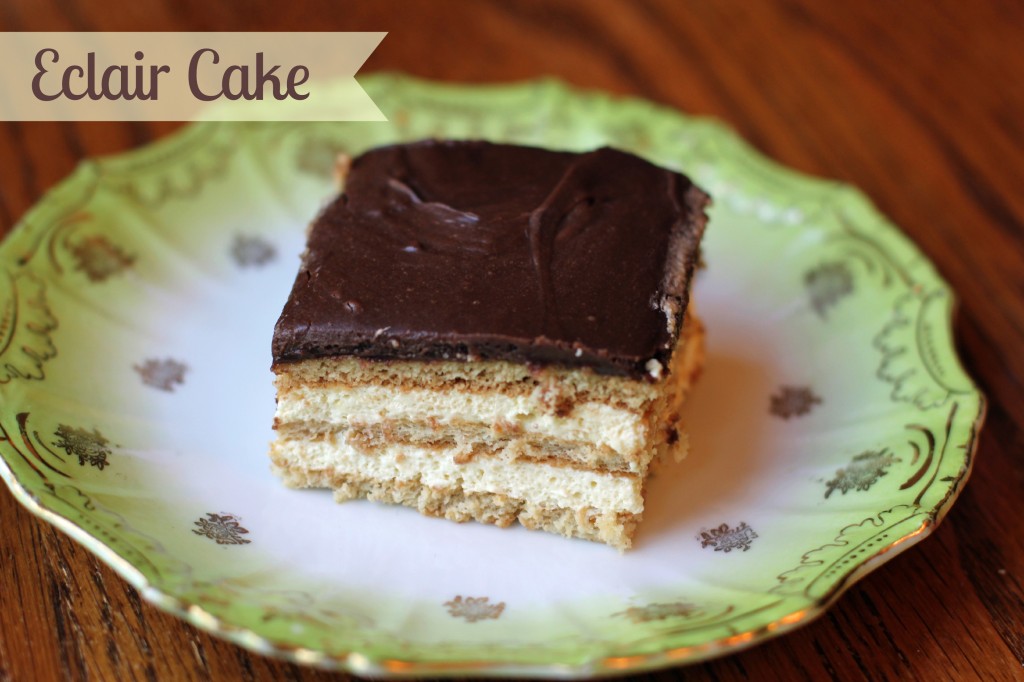
I’m starting to wonder if my best bud Laura is trying to make me fat.  🙂  On Saturday evening, we got together to make tortellini and she made this delicious eclair cake for dessert.  She’s made it for me one other time and it always ends up being my nemesis.  I just can’t stop eating it.  I had two pieces on Saturday night and then she left the cake at my house — and I’ve eaten it for breakfast every day this week.  Healthy much?

Laura says that this recipe is quick and easy to pull together — the trick is that it needs to be made at least 24 hours in advance.  However, when you’re getting together for dinner that can be nice because it is all made and cleaned up in advance.  The best part — it’s delicious!  Even Mike, avid pudding hater, thinks this cake is pretty amazing!

Laura's Eclair Cake
Author: 
Prep time: 
Total time: 
Serves: 12
 
Ingredients
  • 1 box graham crackers
  • 2 large packages instant French Vanilla pudding
  • 9 oz Cool Whip
  • 3 cups milk
  • 1 container chocolate icing
Instructions
  1. Spray a 9x13 inch pan with PAM. In a large bowl, combine the milk and pudding until thick. Fold in the Cool Whip. Place a layer of graham crackers over the bottom of the pan. Spread half of the pudding mixture over the top and add another layer of graham crackers, then the other half of the pudding mixture. Add the last layer of graham crackers (3 layers of crackers total). Microwave the icing for 30 seconds to 1 minute until pourable and pour over the top of the graham crackers. Chill for 24 to 48 hours before serving. This is a recipe that gets better with time!


Butterscotch Easter Nests

Well, our Easter didn’t turn out exactly as we’d planned.  Both Clara and Anna are sick — it’s a strange illness — 100-102 fevers in the morning and evening — seemingly fine most of the day.  Not really eating.  Coughing.  Hacking.  Blah.  They were supposed to be Baptized this weekend and now we are working to reschedule it.  Best laid plans…

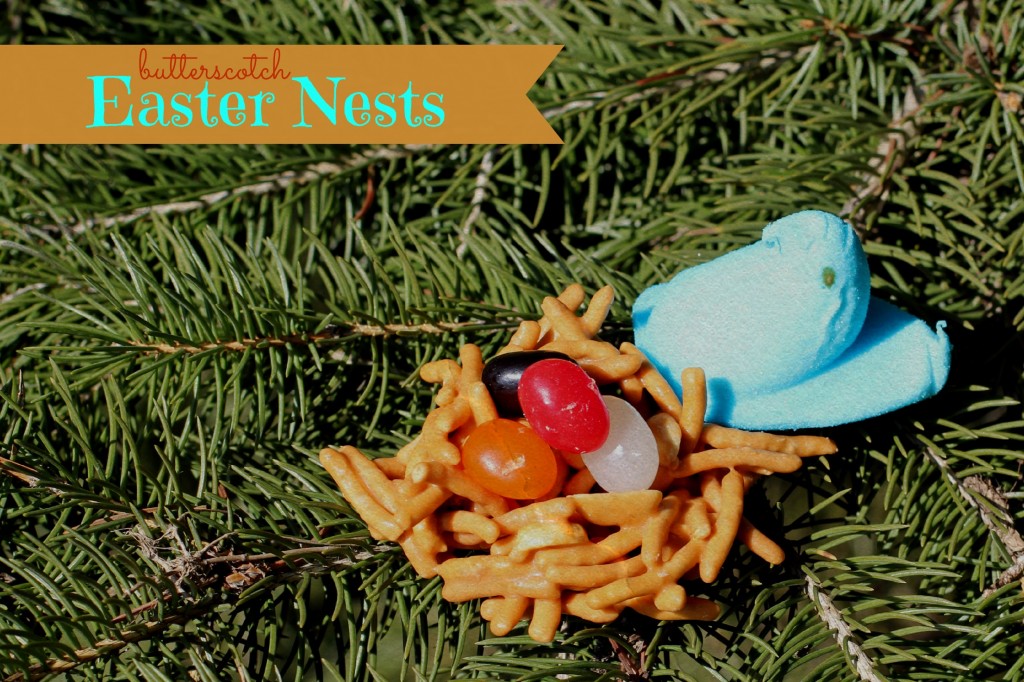
But that didn’t stop us from having fun in the kitchen to celebrate Easter.  One of our projects were these Butterscotch Easter Nests.  I made my mom’s haystacks and added jelly beans and Peeps.  All three kids thought they were neat to eat.  However, Bo was mad I put peanuts in the nests — and Anna and Clara wouldn’t eat the nests at all.  However, they did eat the Peeps and jelly beans.

The nests are very quick and easy to make — perfect for a cooking activity with preschoolers.

Butterscotch Easter Nests
Author: 
Prep time: 
Cook time: 
Total time: 
Serves: 12
 
Ingredients
  • 1 - 12 oz. bag butterscotch chips
  • 1 - 16 oz. bag chow mien noodles
  • 1 cup peanuts
  • milk (if needed)
Instructions
  1. In a large microwave safe bowl, melt the butterscotch chips. I typically melt for about 30 seconds and then stir to judge consistency. Depending on the type of chip you have, you may need to thin them a bit with milk. Add milk, a tablespoon at a time, until chocolate is a pourable consistency. Add in the chow mien noodles and peanuts and stir well until everything is coated with the butterscotch mixture. Scoop onto waxed paper and form into nest shapes. Add jelly beans. Nests will need to set for several hours to harden.


Crockpot Steel Cut Oatmeal

I’ve always loved oatmeal, but for the past several years I haven’t eaten it often — mostly because I simply didn’t have the time in the mornings to babysit a pan of oats on the stove to make sure they reached the right consistency.  My mornings are filled with attempting to feed, dress, and contain my trio so that they end up at school on time.  In text, this seems like a simple task, but in reality, it made dealing with a pot of oatmeal for 30 minutes in the morning nearly impossible.

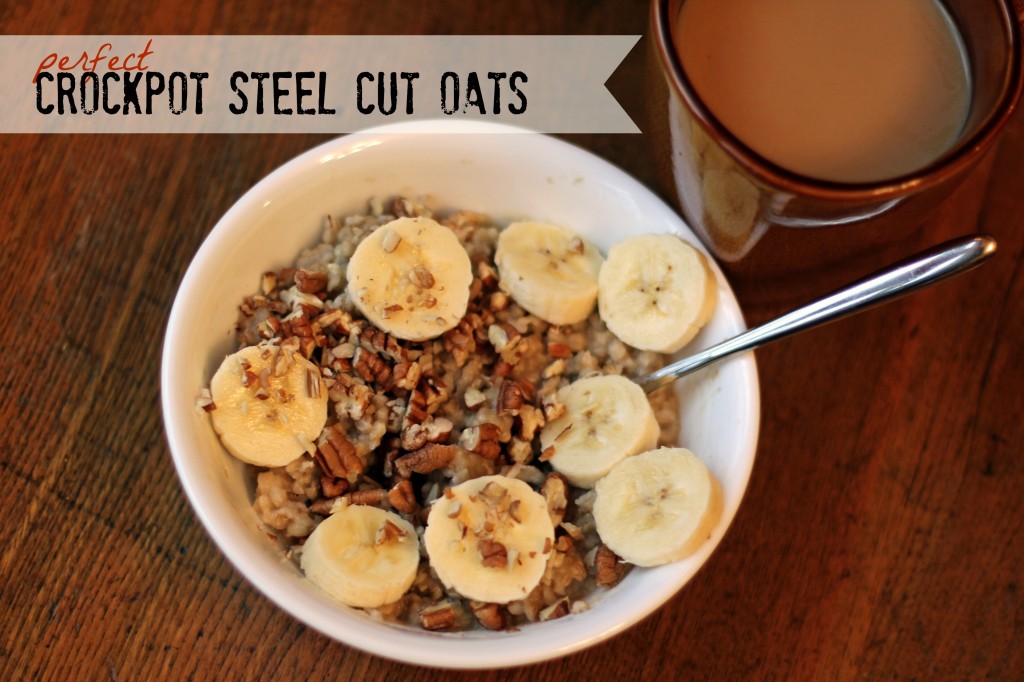
Recently, I discovered the perfect crockpot steel cut oatmeal recipe.  It is divine!  I’ve eaten it nearly every day for the last two weeks and it is perfect for my busy mornings!  I make a batch on Sunday evening and then I have breakfast ready for four days that week.  I make the batch plain and add my toppings based on my mood. To the oatmeal above, I added half of a sliced banana, a teaspoon of brown sugar, and 10 pecan halves chopped.  Amazing.  Seriously.  It’s the texture and creaminess of the oatmeal that makes it so delicious!

The recipe below makes 4 servings, but can easily be doubled or tripled if more people in your family eat oats.  I store them in a Tupperware container and scoop out what I would like into a bowl and microwave for about a minute and 15 seconds before adding my sweetener and toppings.  Some topping ideas besides the banana/pecan mixture include mini chocolate chips/chopped almonds/sugar, chopped apple/crunchy peanut butter/honey, and this mornings creation – raisins/brown sugar/vanilla extract – tasted like an oatmeal cookie!

Crockpot Steel Cut Oatmeal
Author: 
Prep time: 
Cook time: 
Total time: 
Serves: 4
 
Ingredients
  • 1 cup steel cut oatmeal
  • 3 cups water
  • ½ tsp. salt
  • desired toppings/sweetener
Instructions
  1. In a small crockpot, combine the steel cut oats, water, and salt. Stir. Cook on low for approximately 4 hours, on high for approximately 2 hours until desired consistency. Transfer to a Tupperware container and store in the fridge for up to 6 days. Dish out and microwave in the morning - topping with your desired ingredients.


Banana Pudding

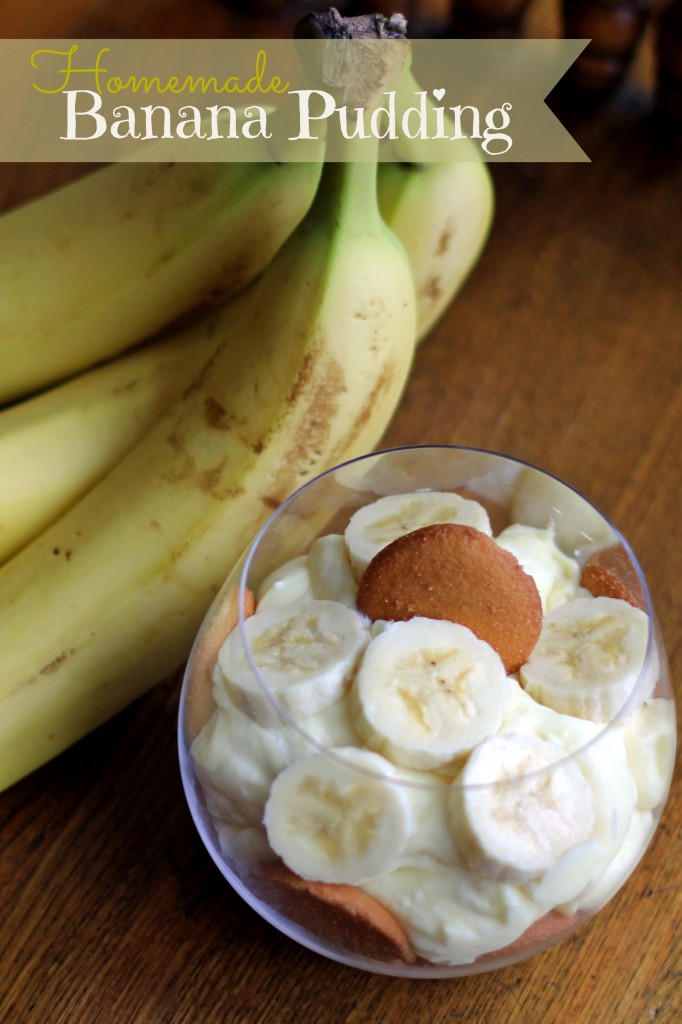
I’ve made this recipe four times in the last 5 days.  Yes, seriously.  Take it as evidence that this banana pudding is amazingly good — and that it’s super quick and easy to prepare — and that I’ve been making dinner and desserts for too many people this week!  I need a nap!  🙂

On Saturday, we celebrated my Mother-in-Laws’ birthday and she requested banana pudding and French Silk Pie.  I made a double-batch of both for her birthday celebration with the family.  On Sunday, I made it again as we hosted dinner for a friend and her family.  On Wednesday, I made it again, as we hosted Mike’s boss for dinner. Apparently, I’m on a banana pudding kick.

My mom first made this recipe for me when I was in high school and it became one of her staple dessert recipes since I enjoyed it so much.  I didn’t make it myself for the first time until a few years ago when my mom gave me a binder for Christmas of some of her most loved recipes.  Now, I know the recipe by heart, which makes it even easier!

This pudding receives 5 wooden spoons from my family.  We all love it.  Mike, Bo, and Clara refuse to eat bananas on theirs (so it’s really vanilla pudding…. details…) but both Anna and I like the bananas on ours.

Banana Pudding
Author: 
Prep time: 
Total time: 
Serves: 8-10
 
Ingredients
  • 1 pint heavy whipping cream
  • 1 can sweetened condensed milk
  • 1½ cups water
  • 1 small box Jell-O instant vanilla pudding
  • 1 box vanilla wafers
  • 2-3 bananas
Instructions
  1. In a mixing bowl, whip the heavy whipping cream until stiff peaks form. In another bowl, combine the sweetened condensed milk, water, and instant pudding mix -- mixing well to avoid lumps (I usually end up blending this with the hand mixer). Fold the whipped cream into the pudding mixture until combined and uniform in color. Layer the dessert by placing a layer of vanilla wafers, a layer of bananas, and topping with the pudding mixture. Repeat until all of the pudding is layered. Allow to chill for 2-3 hours before serving.


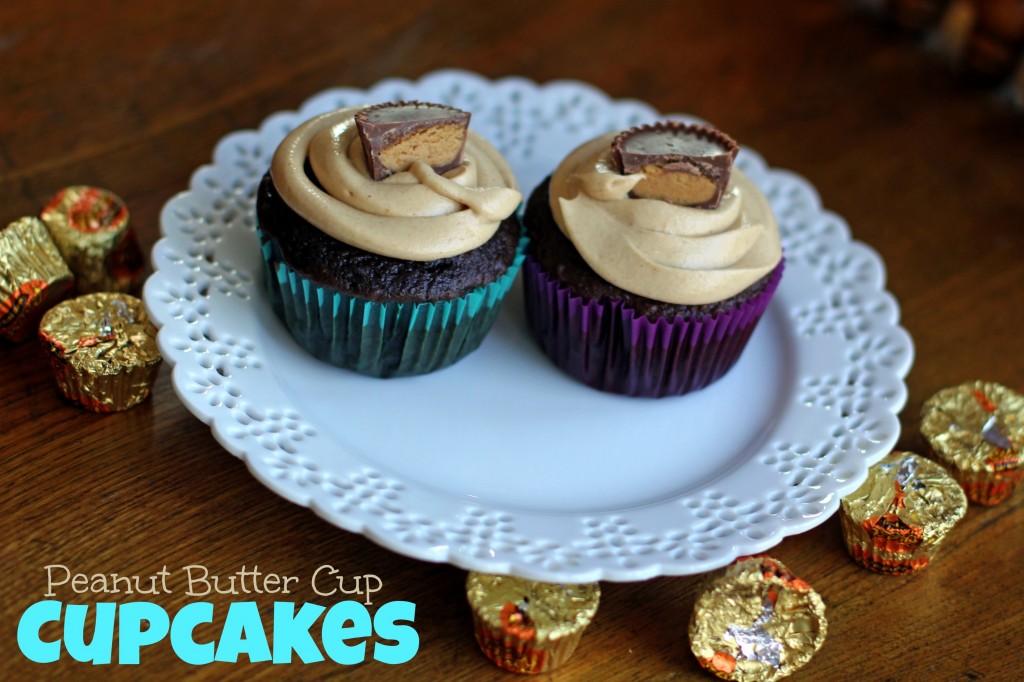
Peanut Butter Cup Cupcakes

We had a crazy busy weekend.  How we manage to fit so many things between the hours of 4 pm Friday and 7 am Monday is always a mystery to me — but some how we do — and have fun doing it!

Mike and I spent the night in Chicago on Saturday and followed it up on Sunday with two birthday celebrations with the kids.  The first was a birthday party that we attended and the second was a family dinner with the Cetwinski family at our house to make up for Riley’s 6th birthday party we missed the previous weekend when the trio was sick.  I took some short-cuts with our meal and our dessert — mostly because we arrived home only 2 hours before our guests were set to arrive.

Instead of making a meal, we ordered pizza, and instead of making homemade cupcakes, I just fancied up a box mix.  However, the resulting cupcakes were amazing!  I loosely based this on the idea behind the Oreo Cupcakes I made previously.  These were quick to throw together and truly tasted fancy — as we discussed that evening, they were much better than some of the local cupcake shops we’ve tried.  They are definitely worth a bake!

Peanut Butter Cup Cupcakes
Author: 
Prep time: 
Cook time: 
Total time: 
Serves: 24
 
Ingredients
  • 2 bags individual peanut butter cups
  • 1 box chocolate cake mix
  • ½ cup canola oil
  • ¾ cup water
  • 3 eggs
  • ¾ cup creamy peanut butter
  • 5 Tbsp. butter, softened
  • 2 cups powdered sugar
  • ¼ cup milk
  • 1 bag miniature peanut butter cups (optional)
Instructions
  1. Preheat oven to 350. Line 24 muffin tins with cupcake liners. Place a peanut butter cup (regular size) in the bottom of each tin. Prepare cake mix according to package instructions. Fill each cupcake liner ¾ full. Bake for 18-22 minutes.
  2. Once the cupcakes have cooled, prepare the frosting. Cream together the peanut butter and butter. Add the powdered sugar ½ cup at a time until well combined. Add the milk to reach the desired creaminess and texture for the frosting. I used a Ziplock bag to pipe the frosting onto the cupcakes.
  3. To garnish, cut miniature peanut butter cups in half and place on top of each cupcake.